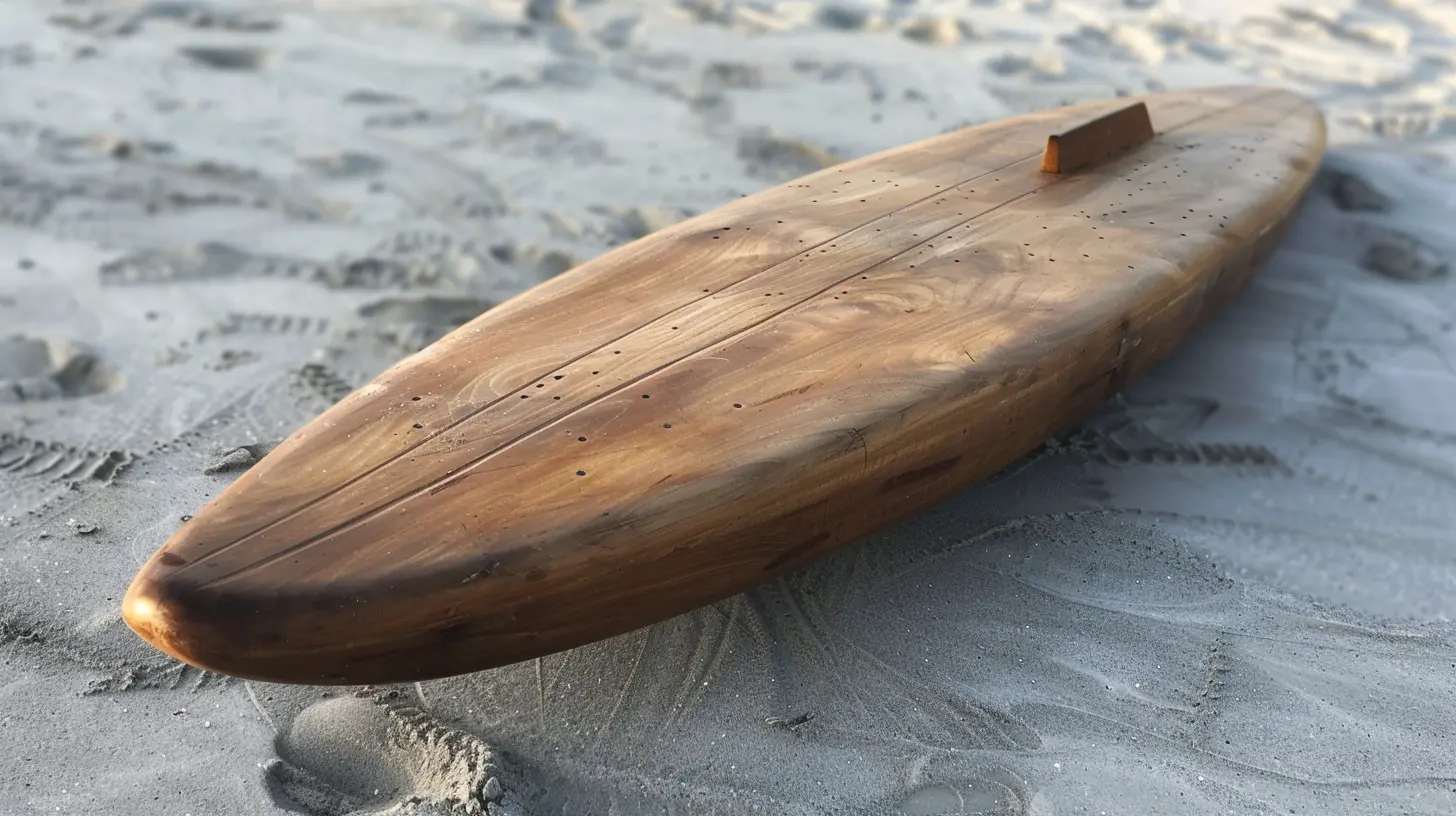
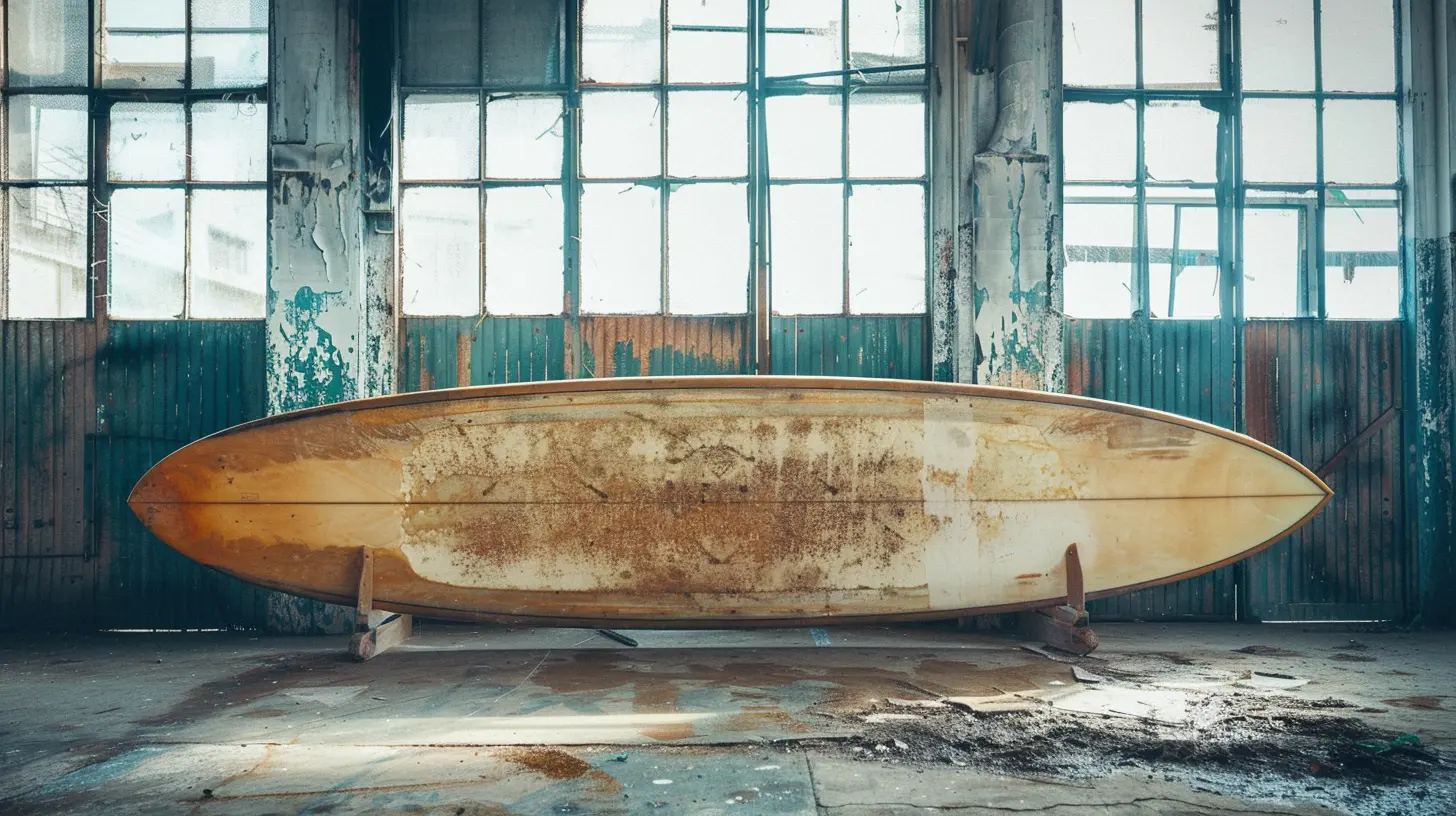
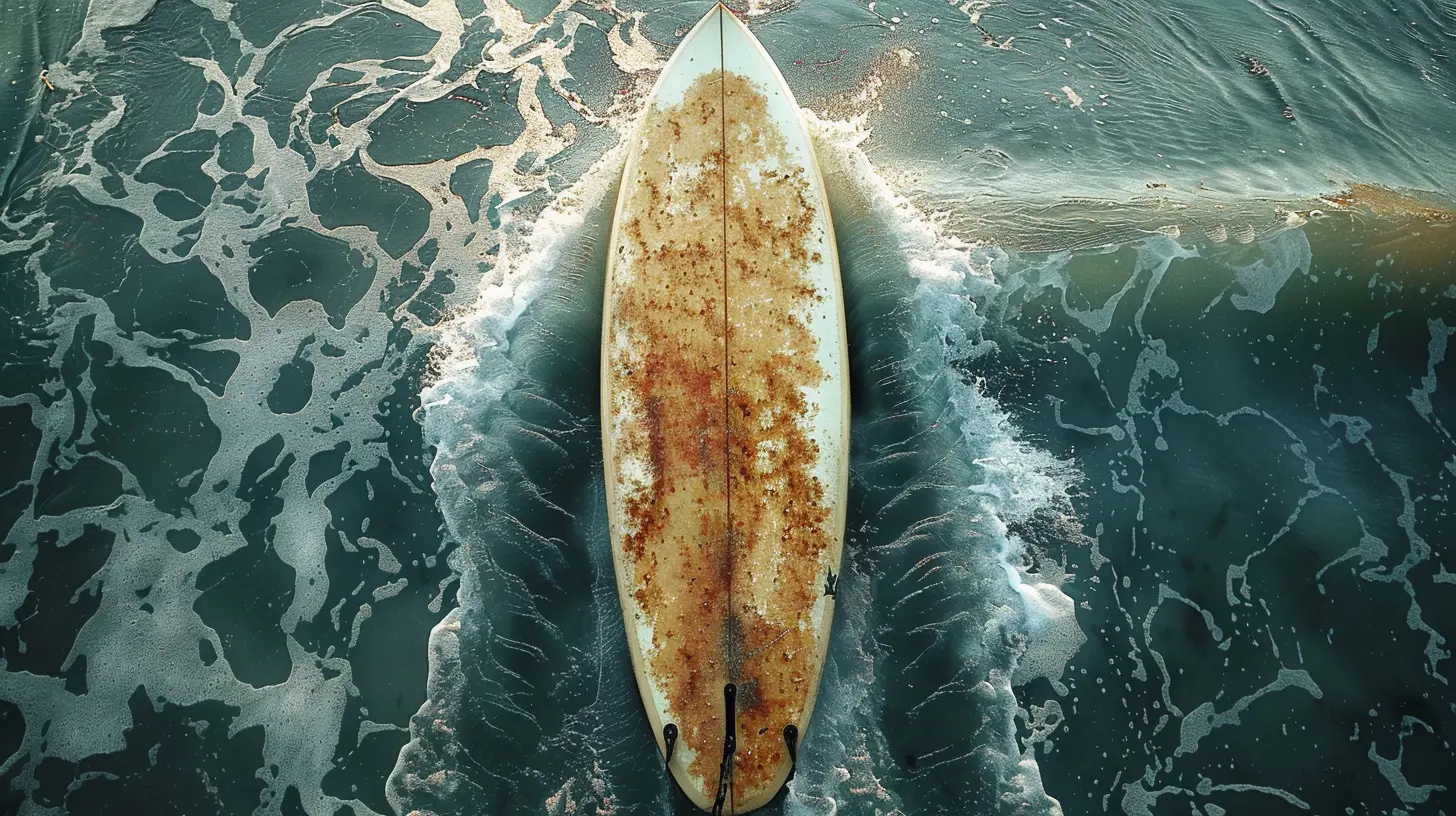
How to Build a Surfboard from Scratch
17 October 2025
So, you're dreaming of gliding over ocean waves on a surfboard you've built with your own two hands? Epic. There's something incredibly satisfying about crafting your own board — it’s not just a project, it’s a labor of love. And the best part? You get to customize it exactly the way you want it.
Whether you're a weekend warrior or a certified wave junkie, this guide will walk you through how to build a surfboard from scratch — step by step — with plenty of stoke and good vibes all the way. No technical jargon, just a fun and informative ride. Ready to get your hands a little sandy? Let’s dive in!
🛠️ What You’ll Need to Get Started
Before we go full throttle, let’s talk tools and materials. This isn’t like baking cookies or assembling IKEA furniture. You’ll need a few specialized items to make your surfboard dreams a reality.Materials:
- Foam Blank – Usually polyurethane or EPS (expanded polystyrene)- Fiberglass Cloth – Usually 4 oz or 6 oz depending on durability needs
- Resin – Polyester for PU foam or Epoxy for EPS foam
- Fins & Fin Box – Single fin or thruster setup, your call
- Sandpaper – Various grits (from 60 all the way to 320)
- Leash Plug
- Masking Tape
- Paint (optional) – For cool custom designs
Tools:
- Planer or Surform Tool- Rasps and Files
- Sanding Blocks
- Mixing Buckets & Stir Sticks
- Protective Gear – Gloves, respirator mask, goggles
- Fiberglass Roller
Once you've got everything laid out, it's time to get your hands dirty.
🔧 Step 1: Shaping the Core (a.k.a. the Foam Blank)
Time to channel your inner sculptor.Choose a Foam Blank
Depending on how you want your board to ride — fast and loose or slow and cruisey — pick a blank that matches your desired dimensions. Most surfboard blanks come in the range of 6 to 9 feet long.Sketch the Outline
Use a long flexible ruler or string to sketch an outline on the blank. Symmetry is key here. Think of it as drawing the board’s DNA.Cut It Out!
Grab a handsaw or a jigsaw and carefully cut along the outline. Don’t worry if it’s not perfect; you’ll fine-tune it in the next step.Shape It Up
Using a planer or Surform tool, begin shaping the foam into the rocker (that sweet curve from nose to tail) and rails (edges of the board). Patience is your best friend here. One wrong move and you could take too much off.Pro tip: Compare both sides frequently. Your board should look like identical twins — not distant cousins.
🌀 Step 2: Designing the Rocker and Rails
Now comes the artistry. The rocker determines how maneuverable or stable your board will be, and the rails control how water flows along your board.- More rocker = easier turns but slower speed
- Flatter rocker = more speed, less turning ease
- Harder rails = better control
- Softer rails = smoother ride
Feel free to tweak things according to your local waves. Beach break? Go for a bit more curve. Point break? Keep it flatter for speed.
🎨 Step 3: Sanding to Perfection
This is where your board starts to look like a surfboard and not a giant foam burrito.Start with coarse sandpaper (around 60 grit) and work your way up to 220 or even 320. Keep it smooth, baby! You want curves, not bumps.
Run your hand over the surface every few minutes. If it feels smoother than a dolphin’s back, you’re golden.
🖌️ Step 4: Customizing with Color (Optional but Oh-So-Fun)
Want to make your board stand out in the lineup? Add a splash of personality.You can paint directly onto the foam (before glassing) or mix pigment into the resin (during glassing). Flames, waves, smiley faces — whatever melts your butter. Let your creativity fly.
🧴 Step 5: Glassing the Board
Okay, things are getting real here. This is the part that makes your soft foam core into a strong wave-shredder.Lay Down the Fiberglass
Cut your fiberglass cloth, making sure it extends about 2 inches beyond the rails. Lay it over the top of the board, nice and smooth — no wrinkles allowed!Mix and Apply the Resin
Depending on your foam type, mix epoxy or polyester resin with its hardener. Work quickly but carefully — resin starts curing fast.Use a squeegee to spread the resin over the fiberglass cloth. Press it in gently so it soaks up but doesn’t shift around.
Let the top cure for 6–8 hours, then flip it and repeat on the bottom.
> Quick tip: Do this in a well-ventilated space. That stuff stinks and you definitely don’t want to breathe it in.
🪚 Step 6: More Sanding (Yup, Again!)
Once everything has cured, it’s time to sand your board again. This part takes patience, but it’s oh-so-worth-it.Start with 80 grit and work your way up to 400 or even 600 for a glassy finish. The goal? Smooth, sleek, and wave-ready.
🏄 Step 7: Install the Fins and Leash Plug
You’ve come this far, don’t forget the bits that really make your board surfable.- Fin Box: Cut a slot in the tail using a router or Dremel tool. Glue it in with resin.
- Leash Plug: Drill a small hole near the tail and set the plug with epoxy. Make sure it's flush with the deck.
Choose your fin setup based on your style. A single fin gives you a classic ride, while thrusters provide more control for aggressive turns.
😎 Step 8: Final Polish and Admiration Time
You’re pretty much done! Give your surfboard one last polish for that glossy, professional look.Want to max out the shine? Apply a surfboard polish or carnauba wax and buff it with a clean cloth.
Then, step back. Take a good long look. Smile. You made this thing. You're officially a surfboard shaper. How cool is that?
🏖️ Bonus Tips for First-Time Shapers
- Start with a small board first – Less intimidating and manageable- Watch shaping videos – Seeing it done helps big time
- Be patient – You’ll make mistakes. That's part of the stoke.
- Label your board – Add your name or signature to the tail for that pro touch
- Track your ride – Once you’re in the water, note how it feels. Every session teaches you something!
🌊 The Joy of Riding Your Own Creation
Here’s the truth — nothing, and I mean nothing, compares to catching that first wave on a board you built from scratch. It’s raw. It’s real. It’s yours.It might not be perfect. You’ll probably tweak things next time. But that's the beauty of it. You’re not just surfing anymore. You’re shaping your ride, your way.
So, wax it up, toss it in the van, and hit the beach. Surf's up, shaper!
all images in this post were generated using AI tools
Category:
SurfingAuthor:

Easton Simmons
Discussion
rate this article
1 comments
Otto Richardson
Crafting your own surfboard is more than just a project—it's a journey of creativity and passion. Dive in, unleash your spirit, and ride the waves!
October 29, 2025 at 5:10 AM

Easton Simmons
Thank you! Crafting a surfboard truly is a rewarding experience that combines creativity with a love for the ocean. I'm excited to share this journey with fellow surf enthusiasts!


